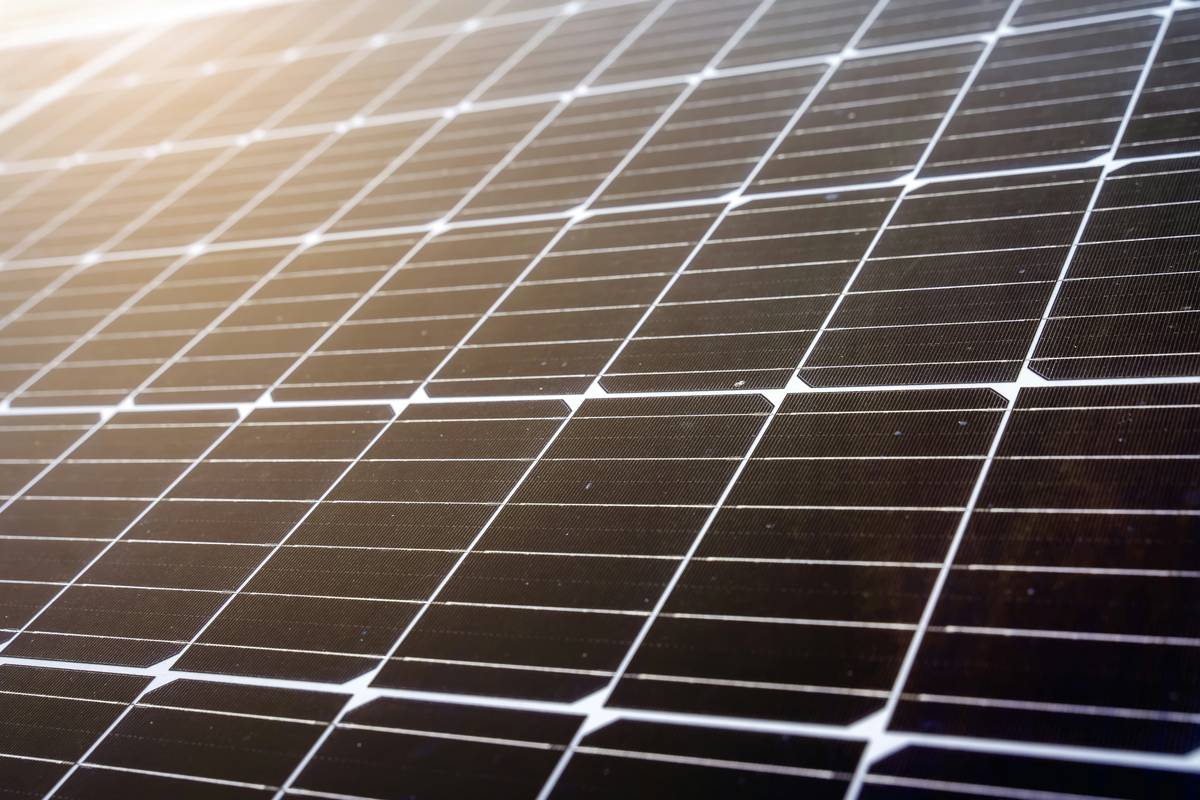
If you’ve ever stared at a jumble of solar panels, inverters, and wires wondering how they actually connect, you’re not alone. I once wired two panels in series when my system needed parallel—tripped the breaker, fried a charge controller, and spent a weekend troubleshooting what a proper solar panel diagram would’ve prevented in five minutes. Whether you’re retrofitting your garage or building an off-grid cabin, getting the wiring right is non-negotiable. In this guide, you’ll learn exactly how to interpret and apply a solar panel diagram safely, efficiently, and without burning holes in your wallet.
Table of Contents
- Why Solar Panel Diagrams Matter in Home Improvement
- Step-by-Step Solar Panel Wiring Guide
- Best Practices for Safe & Efficient Wiring
- Real-World Case Study: From Chaos to Clarity
- Frequently Asked Questions
Key Takeaways
- A correct solar panel diagram prevents mismatched voltage/current that can damage components.
- Series vs. parallel configurations serve different goals—know which your setup requires.
- Always verify local electrical codes; the National Electrical Code (NEC) Article 690 governs solar installations (NFPA.org).
- Use MC4 connectors properly—they’re polarized and weatherproof for a reason.
- When in doubt, consult a licensed electrician or reach out via our Contact Us page.
Why Solar Panel Diagrams Matter in Home Improvement
In home improvement, solar isn’t just about slapping panels on a roof—it’s about integrating energy generation into your home’s electrical ecosystem. A poorly wired array can underperform by 30% or worse, cause fire hazards, or void equipment warranties. According to the U.S. Department of Energy, nearly 25% of residential solar issues stem from incorrect wiring or improper component matching.
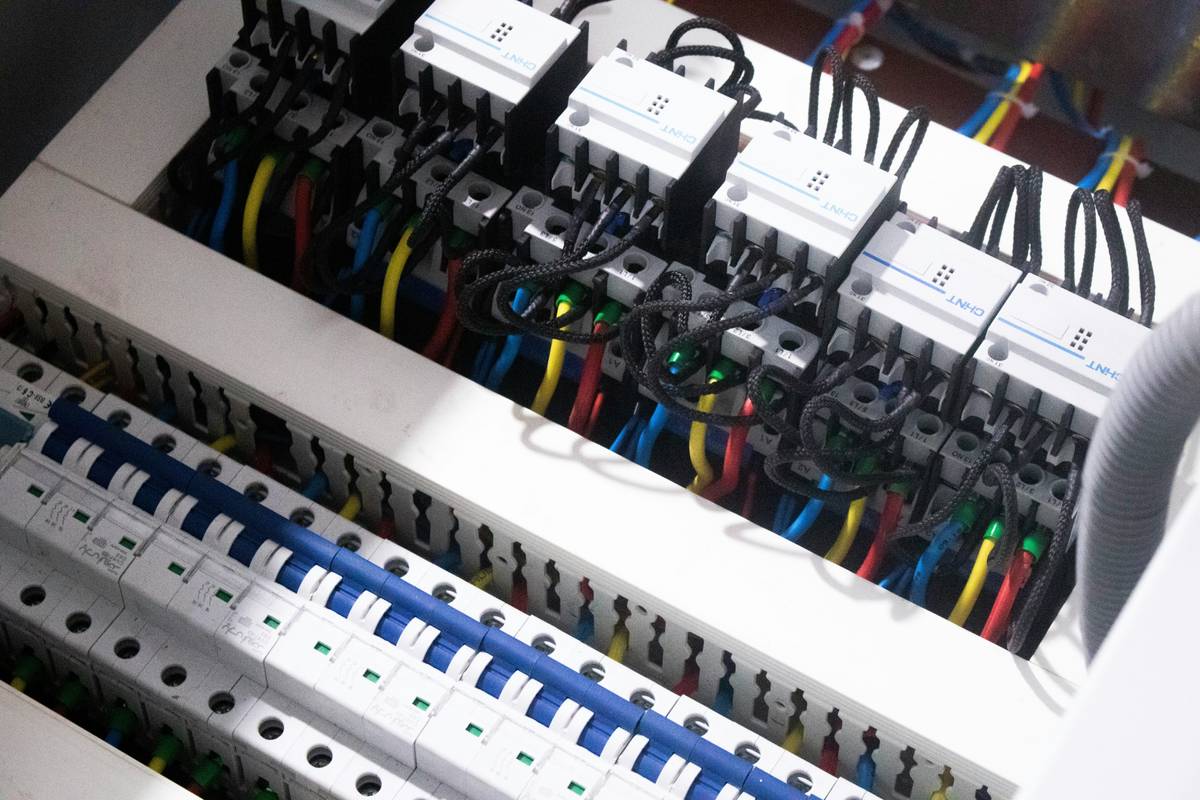
That’s where a clear solar panel diagram becomes your blueprint. It shows how panels link to combiner boxes, then to charge controllers or inverters, and finally to your main service panel. Without it, you’re guessing—and in high-voltage DC systems, guessing gets expensive fast.
Step-by-Step Solar Panel Wiring Guide
Determine Your System Voltage Needs
Start with your inverter or battery bank voltage (usually 12V, 24V, or 48V). Panel voltage must match or exceed this after accounting for temperature derating. Use the open-circuit voltage (Voc) from your panel spec sheet.
Choose Series, Parallel, or Hybrid
- Series: Increases voltage, keeps current low. Ideal for long wire runs or grid-tied systems.
- Parallel: Increases current, maintains voltage. Better for battery charging in 12V/24V systems.
- Series-Parallel: Balances both—common in larger off-grid setups.
Map Your Connections Using a Solar Panel Diagram
Sketch or print a solar panel diagram that matches your configuration. Label positive/negative leads, fuse ratings, and disconnect points. Double-check polarity before connecting anything.
Install Safety Components
Add fuses or breakers between panels and the charge controller (typically 1.56× the short-circuit current). Install DC disconnects for emergency isolation—required by NEC 690.13.
Best Practices for Safe & Efficient Wiring
- Use the right wire gauge: Undersized wire = heat buildup. Use a voltage drop calculator (like the one from AltE Store) to size conductors correctly.
- Never mix old and new panels: Mismatched specs create imbalances that reduce output.
- Secure all connections: Loose MC4 connectors arc in wind or rain.
- Terrible tip warning: “Just twist the wires together and wrap with tape.” Don’t. Ever. This invites corrosion, shorts, and inspector rejections.
Real-World Case Study: From Chaos to Clarity
A homeowner in Colorado installed eight 370W panels but saw only 60% expected output. Their DIY solar panel diagram had three panels in series feeding into a 48V MPPT controller—but Voc exceeded 150V on cold mornings, forcing the controller into shutdown. After redrawing the layout into two parallel strings of four (series), Voc stayed within spec, and production jumped to 98% of theoretical max. The fix? One corrected solar panel diagram and $0 in new hardware.
Frequently Asked Questions
What’s the difference between a wiring diagram and a schematic?
A wiring diagram shows physical layout and connections (ideal for installers). A schematic uses symbols to represent electrical relationships (better for engineers). For home use, prioritize wiring diagrams.
Can I use a generic solar panel diagram for any brand?
Only if voltage/current specs match. Always cross-check your panel datasheet. A mismatched solar panel diagram risks system failure.
Do I need a permit for solar wiring?
Yes, in most U.S. jurisdictions. Your AHJ (Authority Having Jurisdiction) will require stamped plans, often including your final solar panel diagram.
Where can I find free, accurate diagrams?
Reputable retailers like Renogy or Eco-Worthy provide model-specific diagrams. Always verify against NEC standards. Never rely on random Pinterest pins.
How often should I inspect my wiring?
Annually, or after storms. Look for melted insulation, loose connectors, or discoloration near terminals.
Is solar panel wiring DIY-safe?
Only if you understand DC theory, local codes, and safety protocols. If unsure, contact a professional—your safety and investment depend on it. Learn more about our team’s background on the About Us page, and review how we protect your data in our Privacy Policy.
Wiring isn’t glamorous—but done right, it’s silent, safe, and supremely satisfying. So grab your multimeter, sketch that solar panel diagram, and power your home without the panic. Ready to get it perfect? Contact us for a free consultation.